
This is the fourth post in a series of posts which will illuminate my journey to becoming a Full-Stack JavaScript Developer. Read the first one here.
Recap
My plan is to progressively enhance the app into a fully complete app, allowing me to step-by-step learn important principles of development without overwhelming myself while at the same time practice my learning by applying them to a real app.
Validation
…data validation is the process of ensuring data have undergone data cleansing to ensure they have data quality, that is, that they are both correct and useful. It uses routines, often called “validation rules” “validation constraints” or “check routines”, that check for correctness, meaningfulness, and security of data that are input to the system.
https://en.wikipedia.org/wiki/Data_validation
Purpose
Our app has a lot of fields that the user needs to interact with – not only do they need to login with an email and password, they need to register, reset their password, and add/modify contact information(name, birthday, email, etc).
We can make the process of interacting with and submitting these fields more friendly and intuitive using validation. For the purposes of this post we’re talking about client-side validation. This encompasses checks that we add into the client-side(the app itself) which provide visual clues as to whether or not data is accurately entered.
Library
I previously used the Joi npm module for data validation in standard React web apps but for this one I decided to give yup a try. Yup is very similar to Joi but it claims to be smaller and a bit easier to use in projects.
How it works
Validation through yup works by creating schemas for your data which define rules for what your data should look like. Let’s take an example for the First Name field in my app.
Schema
const firstNameSchema = yup.string().required().min(2).max(15)This means that the “First Name” field should be:
- A string(not an object, array, etc).
- Required when submitting the form.
- A minimum of two characters.
- A maximum of fifteen characters.
Validation
The simplest form of validation is just calling the isValid() method on the schema object you defined and pass in the data you want to validate.
firstNameSchema.isValid(text)In my app, whenever the text input changed for a field(when you started typing or deleting characters) the following would happen:
- A method named handleTextUpdate() would be called with the value of the text field(the text in the input field) and the prop passed.
- That method would update the corresponding piece of state with the new value of the text field.
- It would then call a method to validate that input field, passing in the prop name and the text.
Full Code
This is the JSX responsible for generating the First Name field:
<TextInput
  error={!this.state.isValidfirstName}
  prop="firstName"
  label="First Name"
  placeholder={this.state.firstName}
  value={this.state.firstName}
  handleTextUpdate={this.handleTextUpdate}
/>
When text is changed, this.handleTextUpdate is called.
Gotcha: make sure to only write a reference to a function here, don’t include parentheses! Otherwise, the method will be called immediately upon load.
  handleTextUpdate = (text, prop) => {
    this.setState({[prop]: text})
    this.validateField(prop, text)
  }
This clever bit of code is responsible for handling all of the fields on the screen. The prop name is passed as a string. The text is implicitly passed. The reason [prop] is in brackets is because we want to pass the name of the prop. Read about how that works here.
ValidateField method in full
  validateField = debounce ((prop, text) => {
      switch(prop) {
        case 'firstName':
            firstNameSchema.isValid(text)
            .then( (valid) => this.setState({ isValidfirstName: valid }))
            break
        case 'lastName':
            lastNameSchema.isValid(text)
            .then( (valid) => this.setState({ isValidlastName: valid }))
            break
        case 'address':
            addressSchema.isValid(text)
            .then( (valid) => this.setState({ isValidaddress: valid }))
            break
        case 'phone':
            phoneSchema.isValid(text)
            .then( (valid) => this.setState({ isValidphone: valid }))
            break
        case 'email':
            emailSchema.isValid(text)
            .then( (valid) => this.setState({ isValidemail: valid }))
            break
        default:
            break
      }
  }, 500)
The debounce() before the method parameters is a lodash library function. What this does is prevents the method from being called immediately for every single text input change; it will wait 500 ms after the last call to the function before it actually invokes it.
That might sound confusing at first so I’ll try to explain. When you type into a text field you want React to update state immediately without any delay. This is because the value of that field will be linked to state. You want that value to be “the truth” in the app and thus updated immediately and not prone to bugs or weird laggy behavior.
I do not want validation performed immediately for every single keystroke, though; that would be taxing and annoying. So, instead, the app waits a half second after the user is done typing before the app validates the field.
The debounce() function is great for search fields which automatically perform a search after you stop typing rather than requiring you to hit a submit button.
Result
My custom <TextInput> React component has a prop named error which is responsible for showing and hiding a small icon which is a visual indicator of pass/fail for validation.
If validation fails, a red X icon appears next to the field; if validation passes, a green check-mark icon appears next to the field.
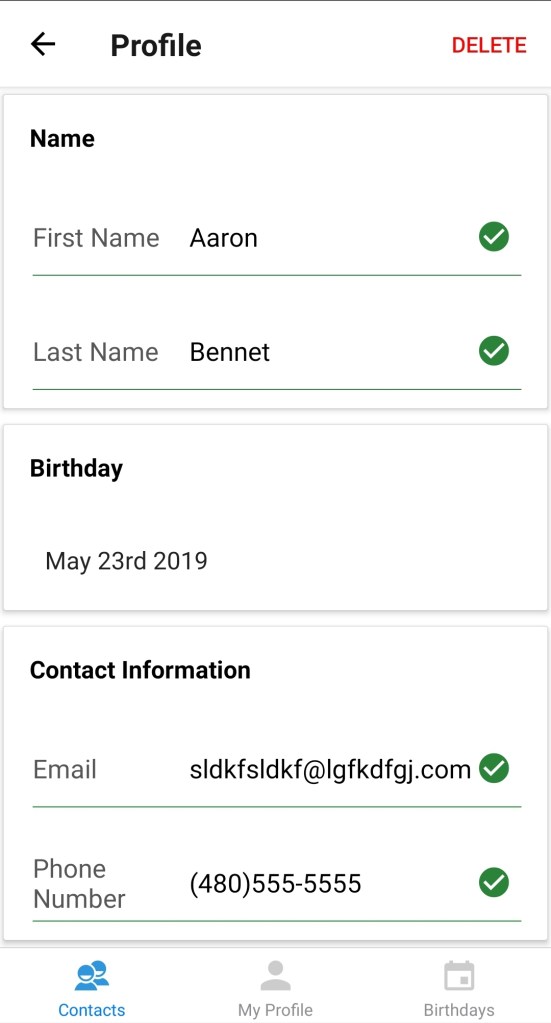
That’s the gist of how I did validation throughout the app. I applied this same validation to the login form, registration form, and password reset form.
UX Improvements
Beyond validation, it’s a good idea when developing a mobile app to try to make entering data as easy as possible. You should dynamically change the keyboard type when possible to make it easier and enjoyable to enter data.
Luckily, this is easily done without any extra libraries or validation; the core TextInput component that ships with React Native has tons of properties that can add hints as to how the field should be interacted with.
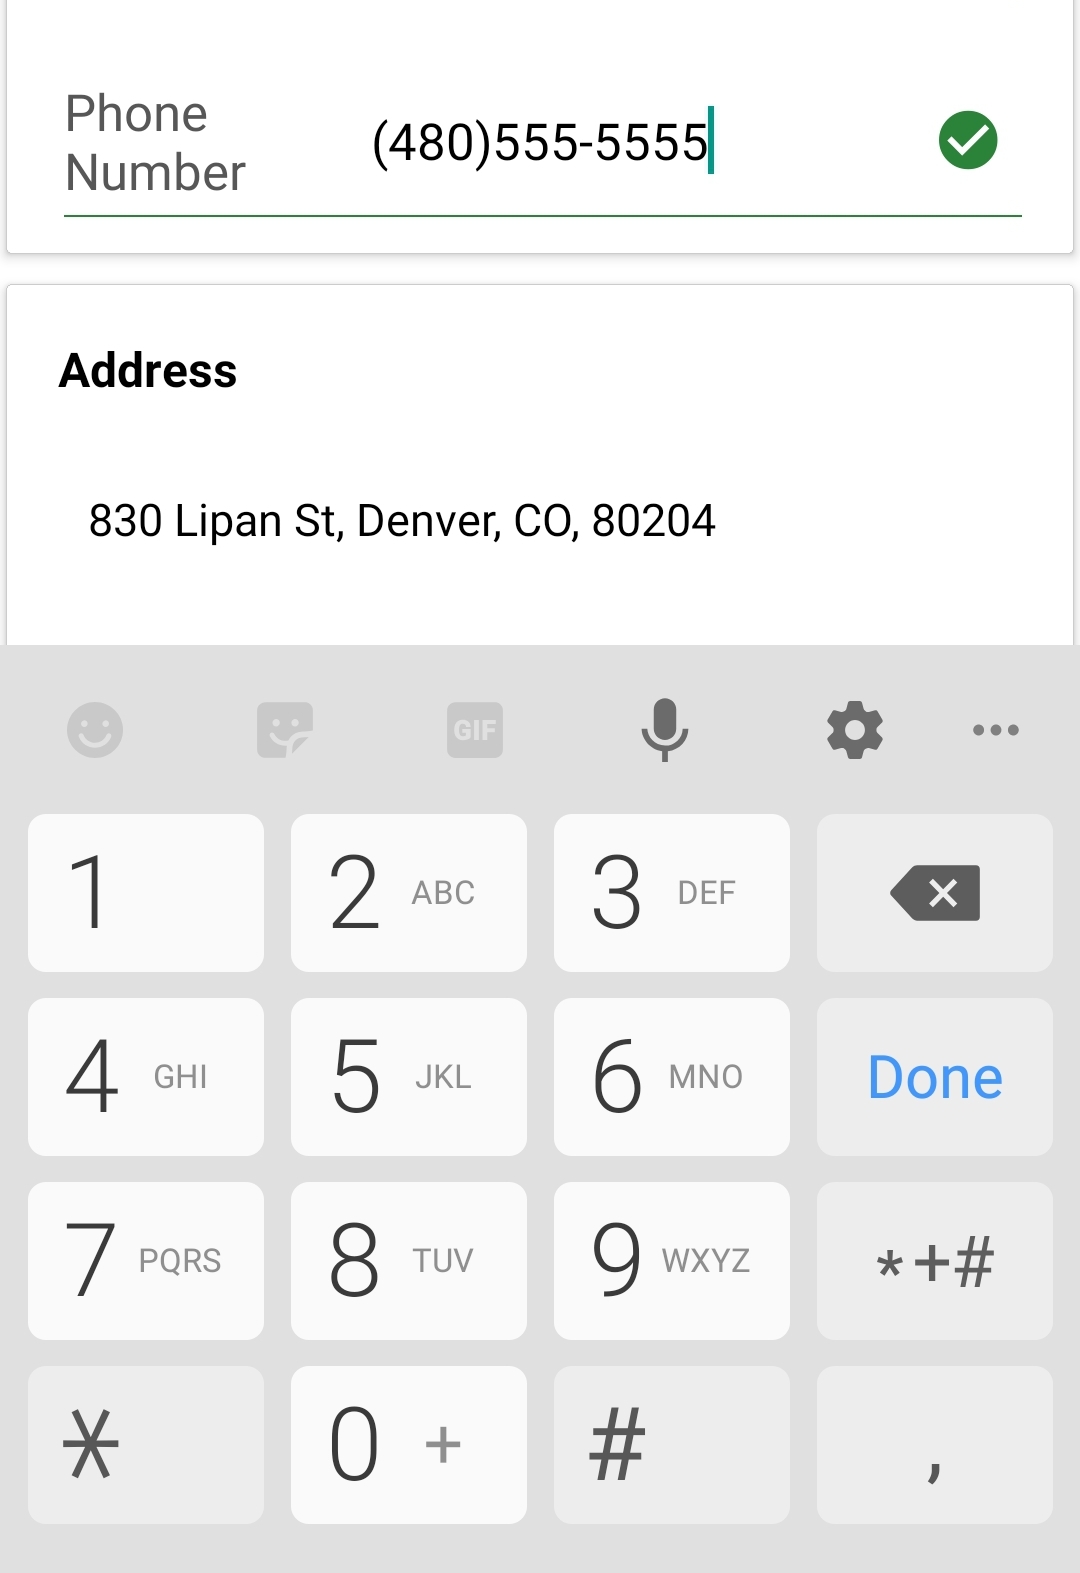
The Phone Field
<TextInput
  textContentType="telephoneNumber"
/>
The textContentType prop hints to the mobile device which type of keyboard to use.
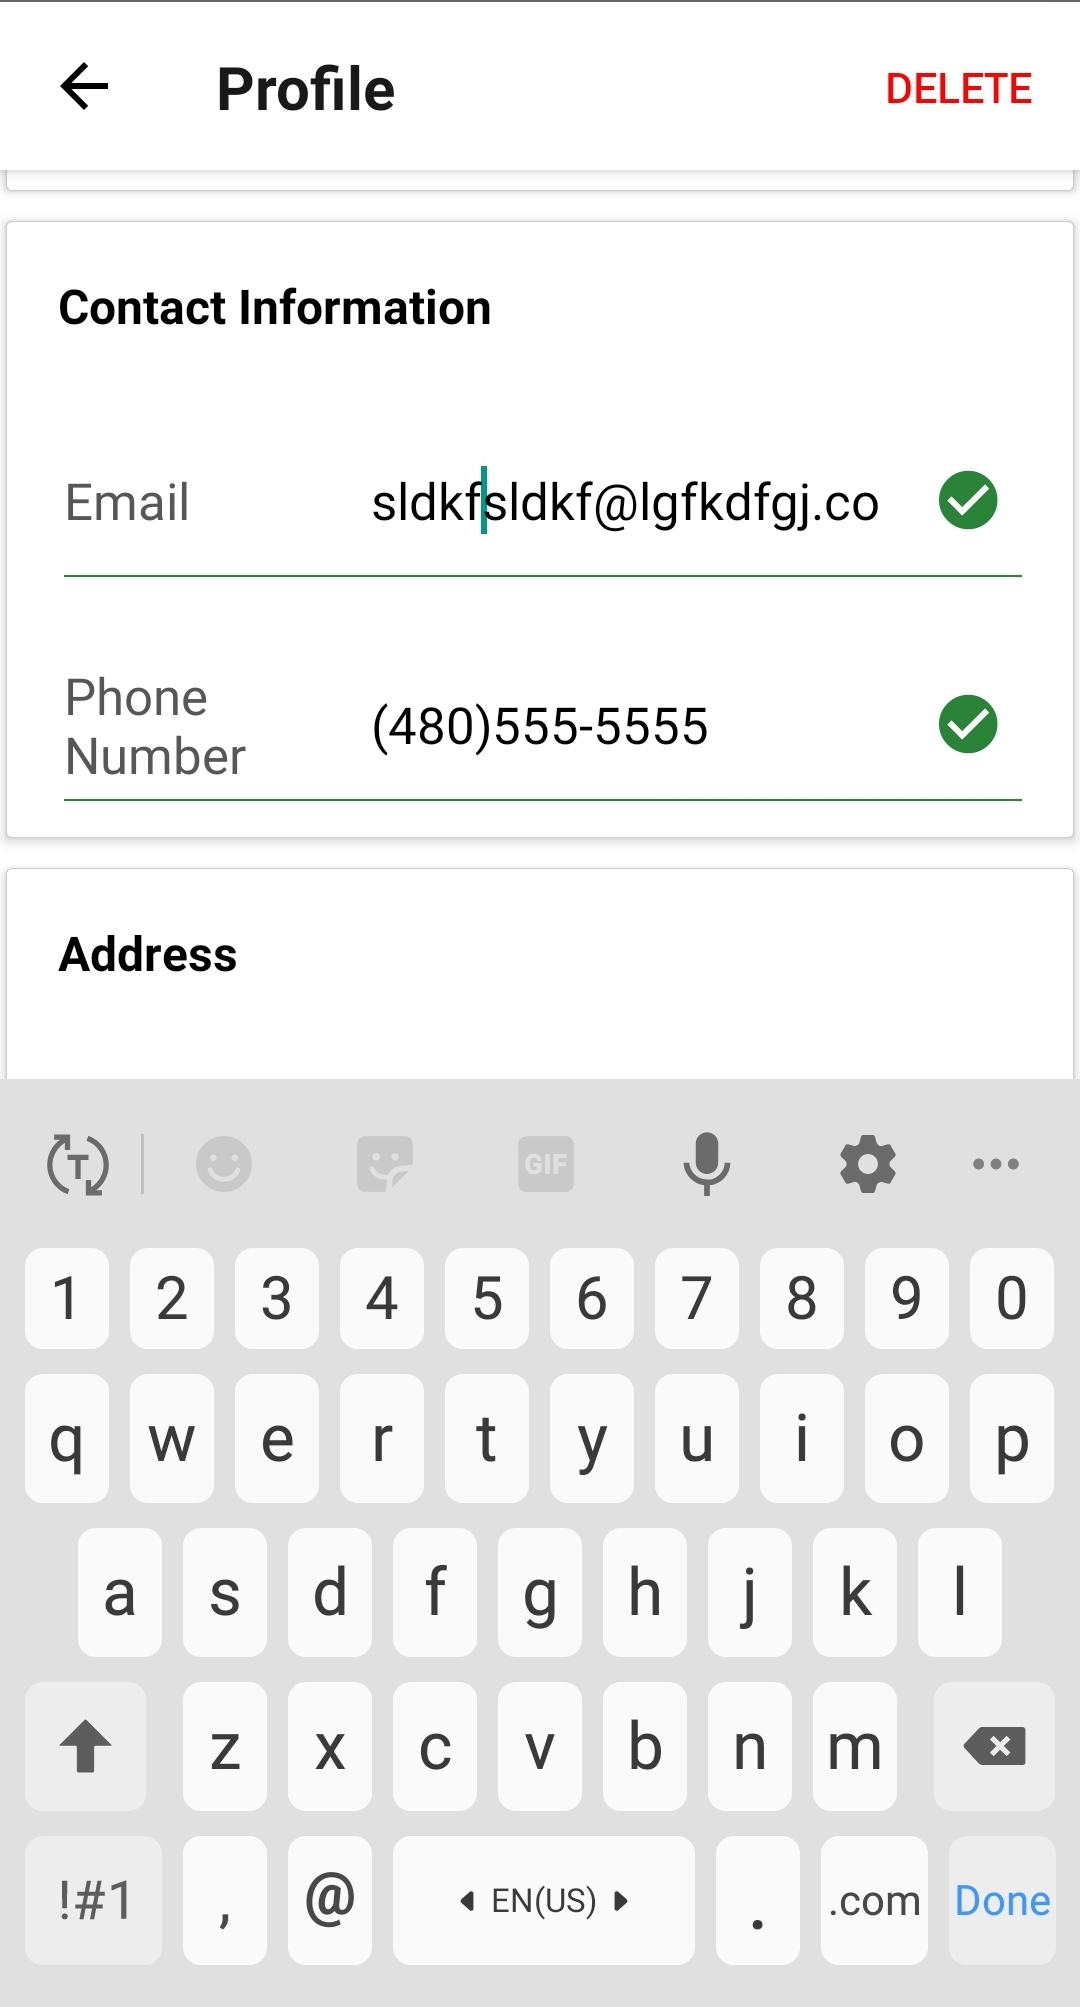
The Email Field
<TextInput
  autoCorrect={false}
  keyboardType="email-address"
  autoCapitalize='none'
  textContentType="emailAddress"
/>
Here we have some hints that we should not allow autocorrect nor should we automatically capitalize the first letter of the text data. Note that we also have a slightly different keyboard than the standard keyboard(the @ symbol and the .com button).
It can be tedious to go through documentation to find small little tweaks like this but it’s absolutely worth it to help make your app enjoyable to use as well as fast.
Caveat
I said earlier that this was all client-side validation. This does not make the app more secure. It only makes it less likely that users will make mistakes when inputting data as well as provides visual indication of the pass/fail condition of your validation functions.
In the next blog post we’ll talk about server-side validation which improves the security of your app by preventing garbage and malicious input from being sent to your servers.
